
 I mentioned I was working on the hometown level’s interiors in the last article. This post will be showing more of that. I figured now would be a good time to reveal what things look like on the backend, and why I’m still sticking to placeholder scribble art at this point.
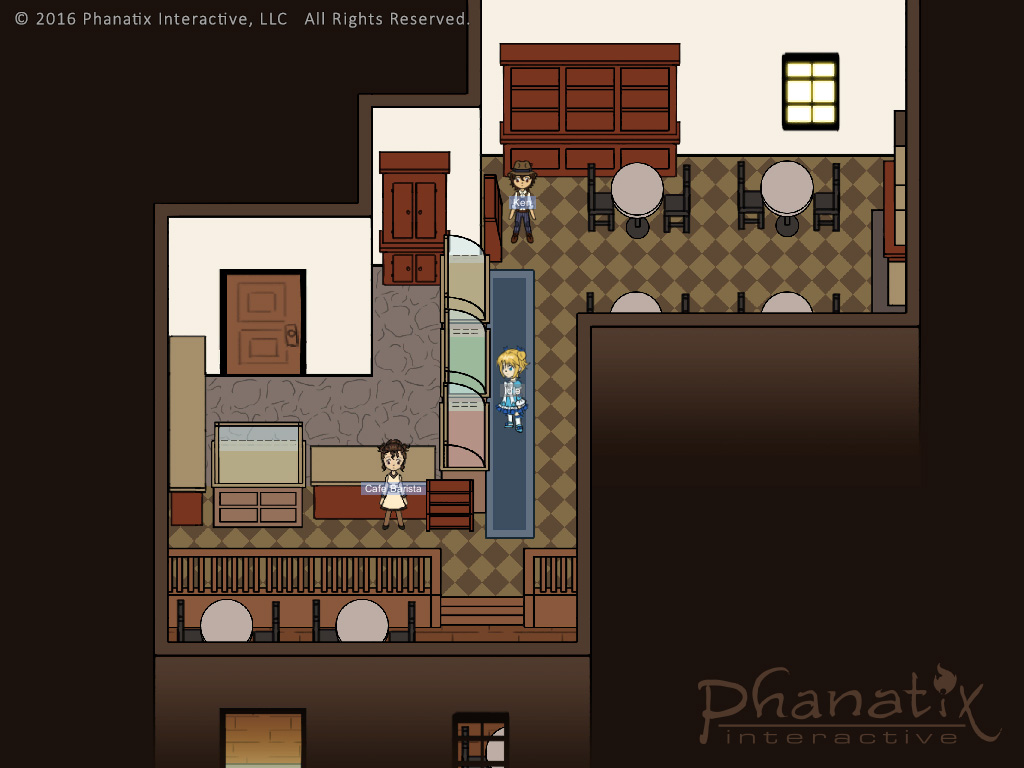
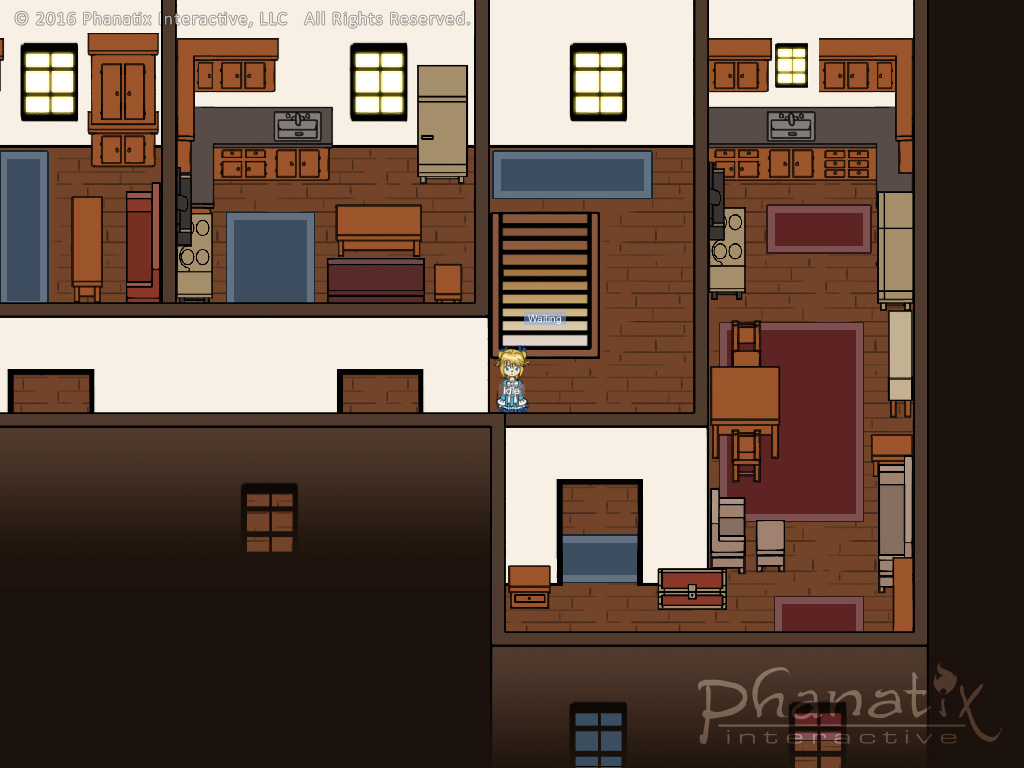
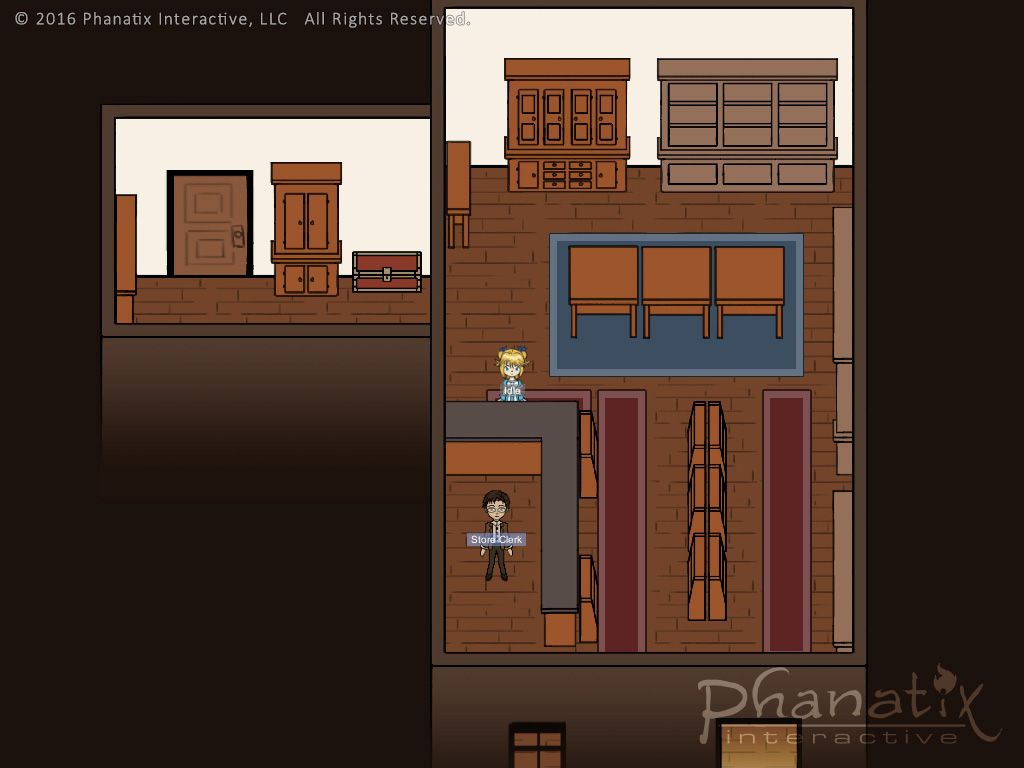
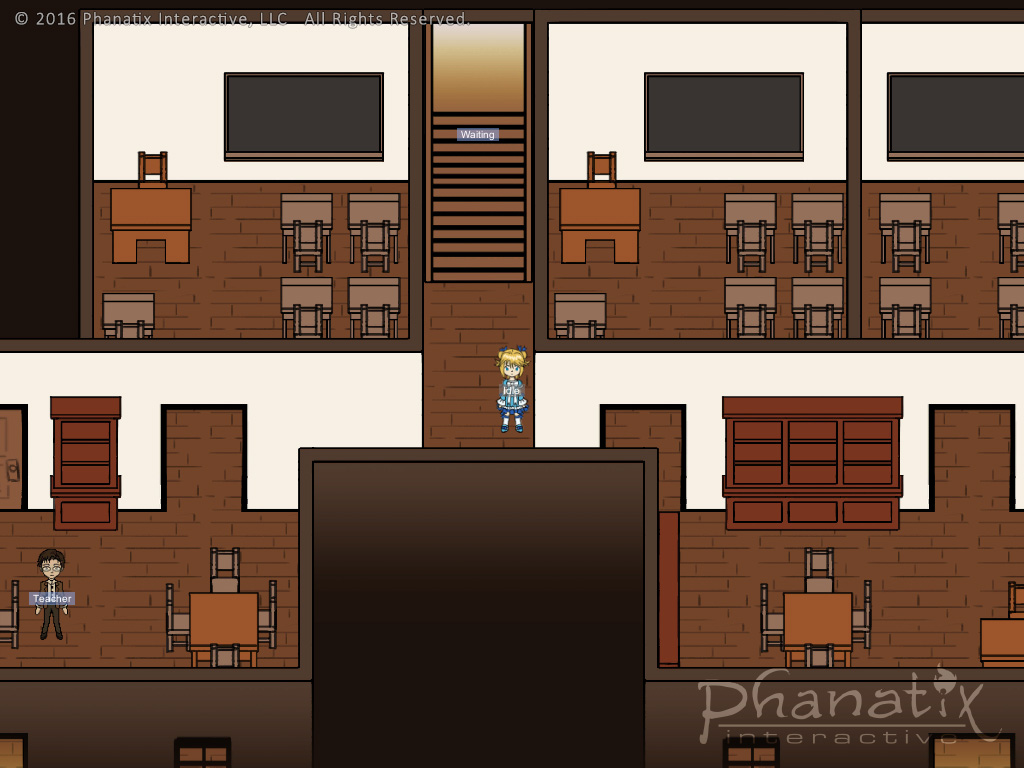
So many interiors…
You certainly won’t have any shortage of places to explore in this game. There are sixteen interior spaces in the first area of the hometown level, twenty-nine interiors in the second area, another sixteen interiors in the third section, and six interiors in the last area. The farthest area of the town is mostly a park, so naturally there’s fewer buildings there. When I say level interiors, I’m talking about single floors of buildings. Some buildings have up to three floors in them, so they add up fast. That’s a lot of nooks and crannies for hidden goodies to find.
Arranging texture space
![]() So far you’ve noticed (or I hope you’ve noticed) that I’m only using placeholder graphics at this point. At face value, this makes the game look terrible. However, from my side of things, this is a huge time saver. As I’m designing the levels, I get to interact with them to see what works. I’ve found out that I didn’t need a lot of the assets I thought I was going to need. So I was able to scrap the unused scribbles very easily with little loss of time and effort. If I had actually bothered to make final art for those unused assets, I would have been wasting my time.
So far you’ve noticed (or I hope you’ve noticed) that I’m only using placeholder graphics at this point. At face value, this makes the game look terrible. However, from my side of things, this is a huge time saver. As I’m designing the levels, I get to interact with them to see what works. I’ve found out that I didn’t need a lot of the assets I thought I was going to need. So I was able to scrap the unused scribbles very easily with little loss of time and effort. If I had actually bothered to make final art for those unused assets, I would have been wasting my time.
Here’s a screenshot of one of the interior furnishing spritesheets. It’s exactly 2048 x 2048 pixels, just like the other textures. I’ve got three such spritesheets with all of the interior’s decor crammed into them. Some of them are tile brushes, like the countertops and cabinets on the top. This means they’re painted into the background on a grid, just like the floors and walls. The rest are actual sprites that get dropped into the level as game objects. Here’s an example of the above selected stove sprite placed in the level:
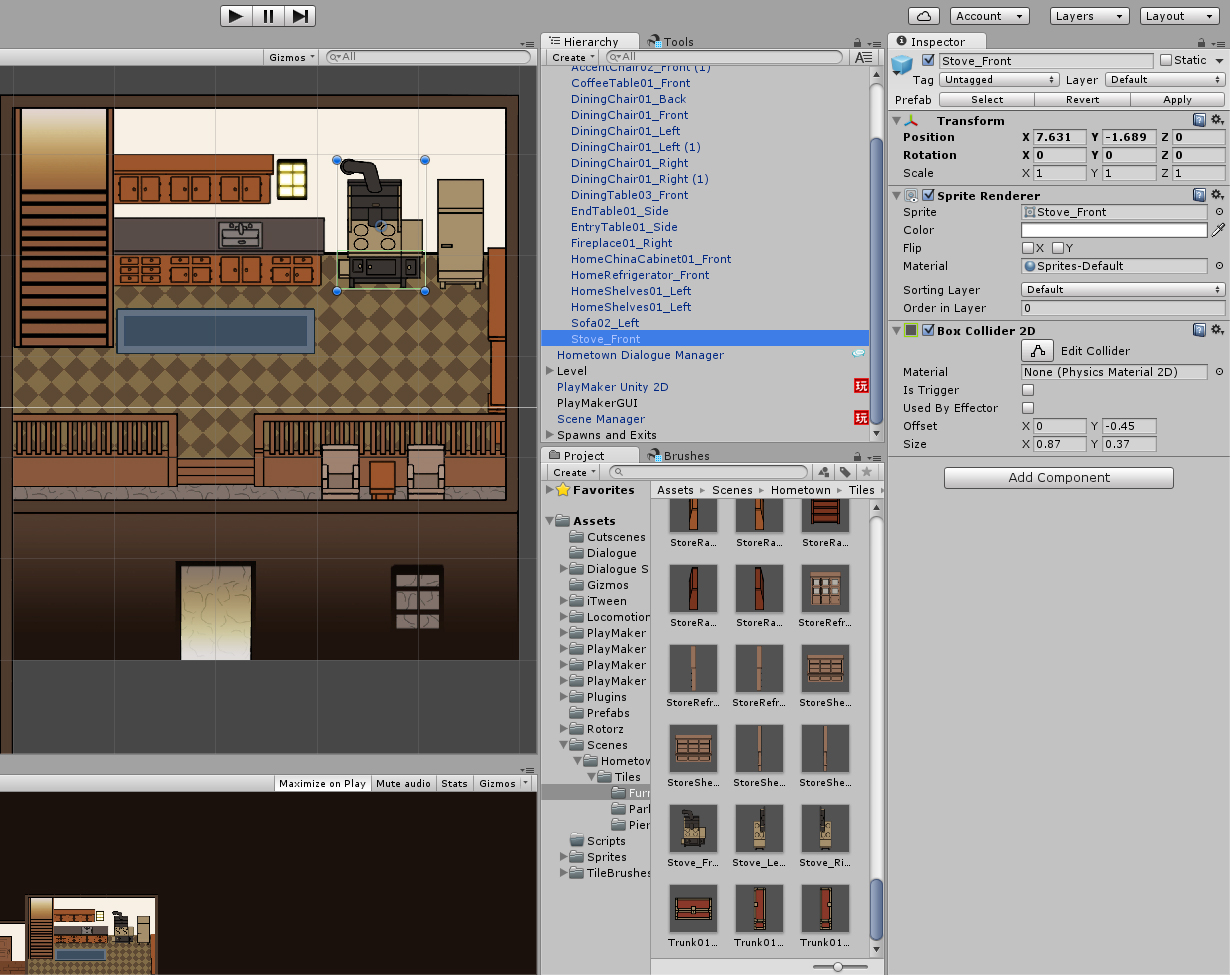 When it comes time to render out the final artwork, all I have to do is drop the new image in place of the scribbled placeholder in the image file. In this case, all of the stoves across the whole game will be updated to the new art without having to do anything else. The other advantage is that I can see how the new art looks in all of the places it’s going to be used at the same time. So as I’m adding all the “real” art, I can make sure it doesn’t clash with anything else.
If you couldn’t tell, I’m super excited to start working the final art assets for the environments. However, it’s going to be a while before I get around to that. There is a lot more placeholders and functionality that needs to be added to the game first before I can worry about tidying up the place.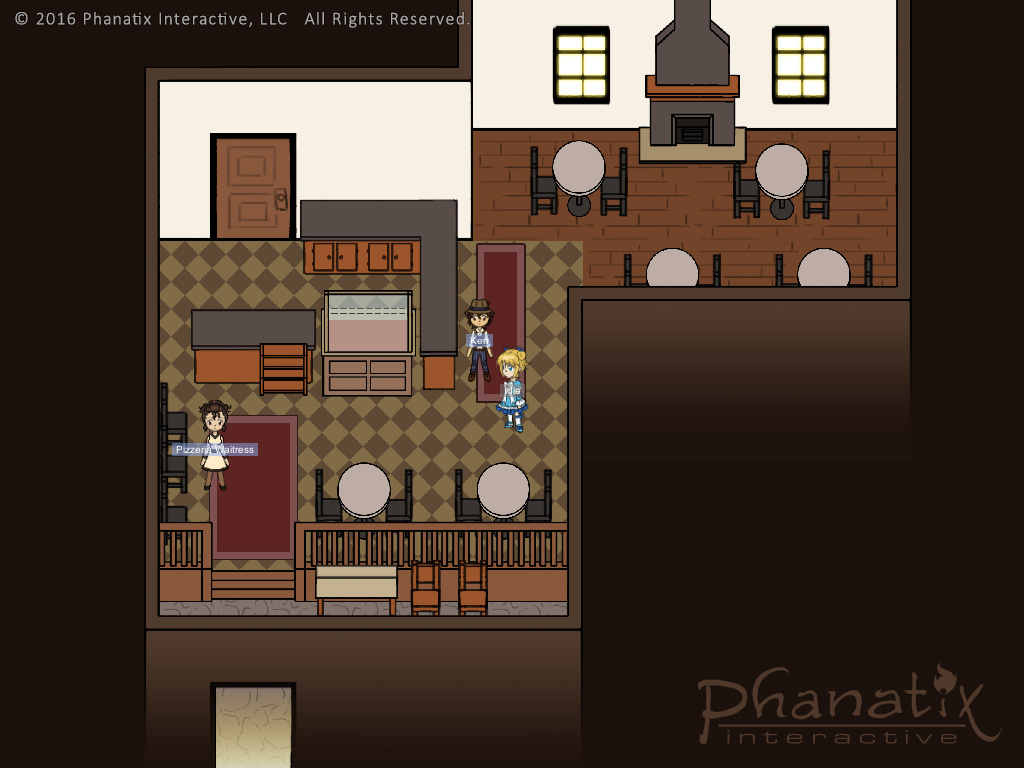
Notes on future optimization
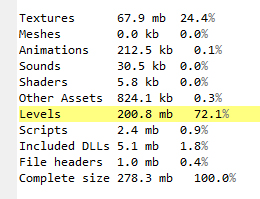
After having a look at the Unity log to see how much memory the game was taking up, I was a bit surprised by how much was being used by just scenes (the files that contain the levels). I was expecting textures to take up the most space instead.
 Currently, I have each exterior and interior level in its own scene, but it’s quite obvious that isn’t going to work. Those suckers are huge! At some point, I will have to move them all into two Unity scenes (one for interiors, one for exteriors) and change the exit trigger code to activate/deactivate the needed levels. This is my first game in Unity, so I’m learning as I go. From now on, I’ll make levels the right way from the get go.
Moving on to exteriors
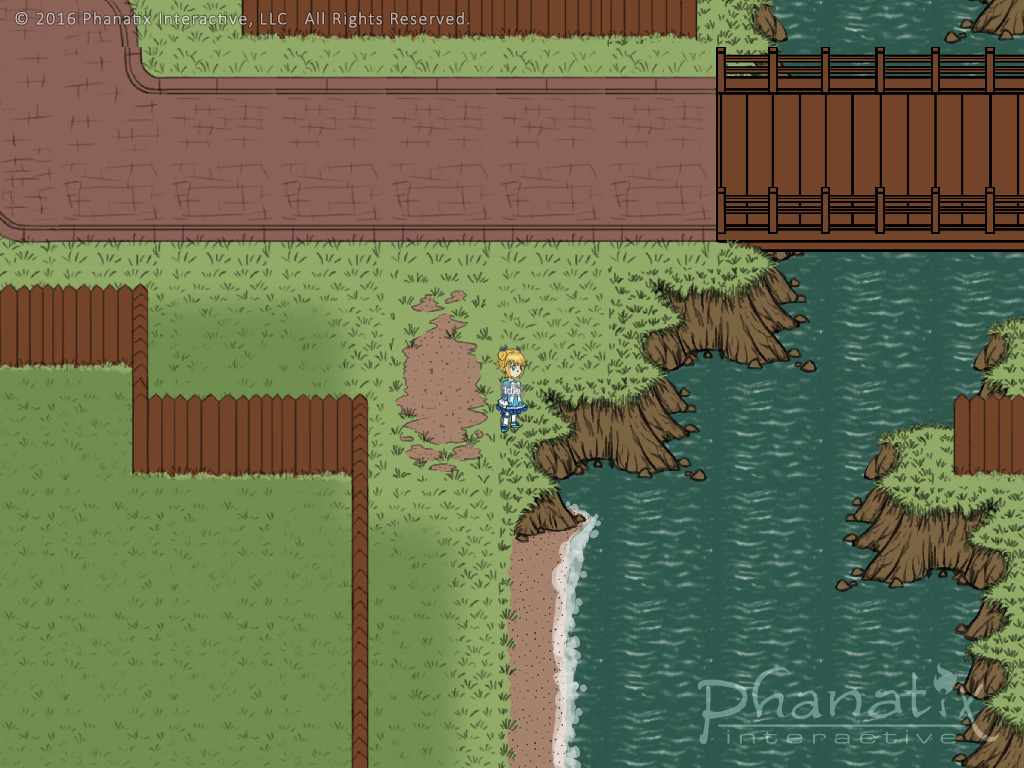 After I finish up dropping furniture sprites into all of the interiors, I’ll be moving on to adding some extra decor sprites to the exterior levels. They’ve been annoyingly devoid of things like trees, shrubs, flowers, lamp posts, mail boxes, and other things that should be found outside.
Leave a Reply